WEM Upgrade Process
Upgrading citrix WEM
Intro
With the latest release of WEM 4.5, I figured I would take the chance to document a how to guide on upgrading the WEM Components in the safest fashion.
It is critical that you disable Mirroring of the Database prior to any WEM upgrades.
Step 1. Backup your Environment. A simple SQL backup job is fine for the WEM DB.

And I like to snapshot my broker server/s.

Step 2. Document your WEM Infrastructure Service Configuration. This is wiped after an upgrade (Note this is the last time you will need to do this via the GUI, moving forward you can use PowerShell)
Launch the Infrastructure Service Configuration:
C:\Program Files (x86)\Norskale\Norskale Infrastructure Services\Norskale Broker Service Configuration Utility.exe
Take note of the following Settings in particular Database, Network Settings (if you customised ports), Advanced Settings, Licencing. DB Maintenance most people leave as defaults

Database Settings Node

Network Settings Node
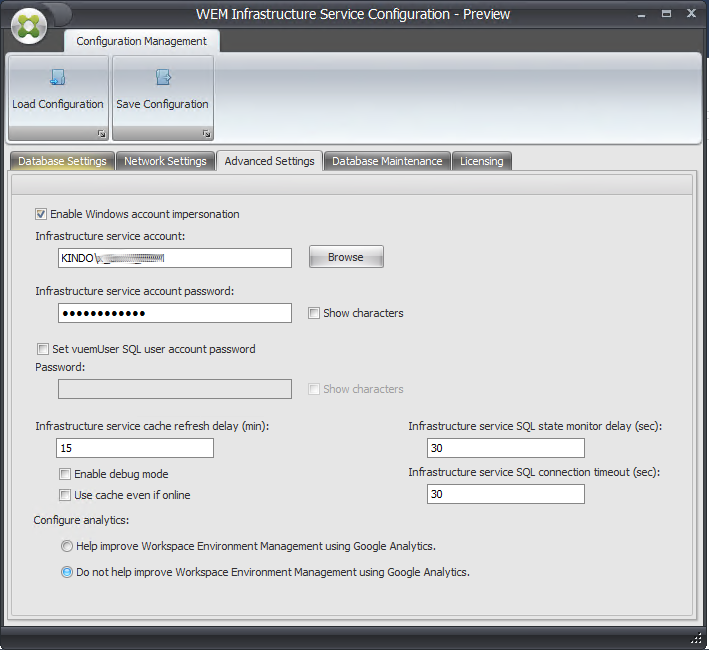
Advanced Settings Node
Step 3. Once you have completed your preparation steps, you can run through the simple upgrade.
Start with the Console:
\Workspace-Environment-Management-v-4-05-00\Citrix Workspace Environment Management Console Setup.exe
Follow the defaults, there is nothing of concern here.
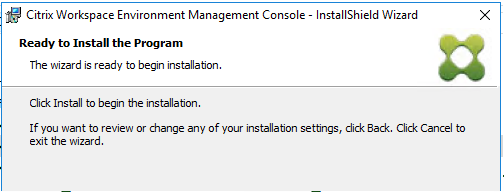
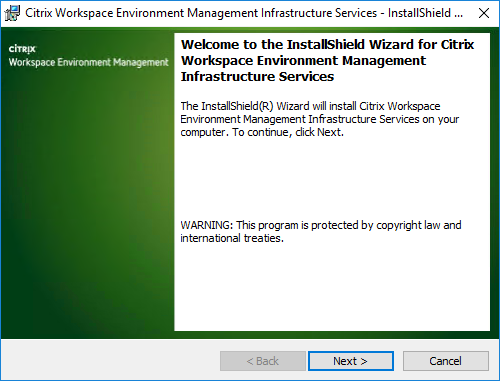
Next we move to the infrastructure services
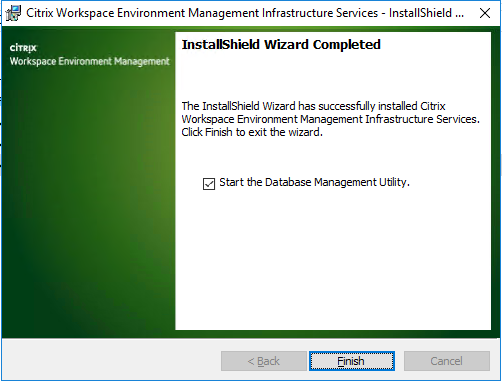
\Workspace-Environment-Management-v-4-05-00\Citrix Workspace Environment Management Infrastructure Services Setup.exe
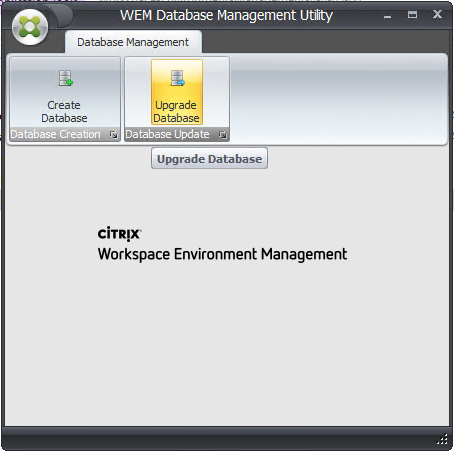
Leave as the defaults, this just updates the actual services and we will configure shortly Once complete, launch the DB Management Utility (This can be done via PowerShell moving forward from this release)
Select to Upgrade the Database
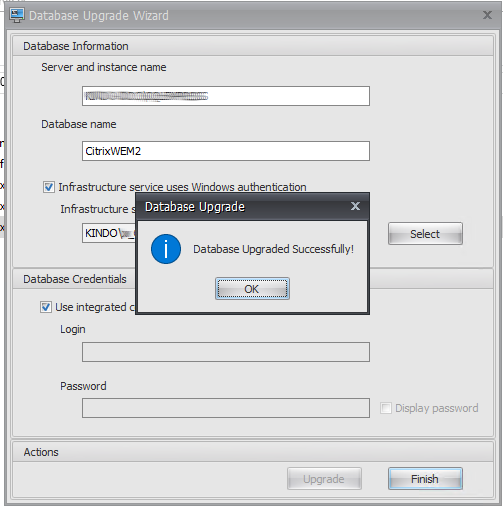
Make sure here to specify the Correct DB as noted in your first steps - if you have multiple (Unlikely however I do) make sure you run through this for all DB’s
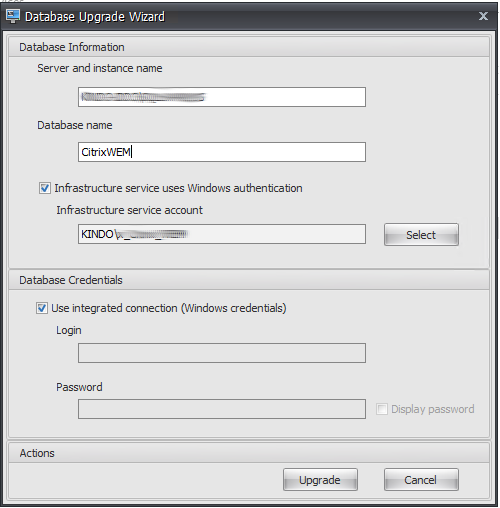
Once DB has been upgraded we can move on
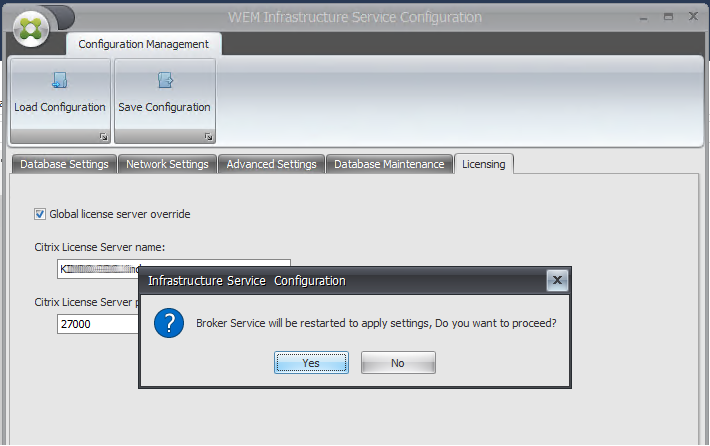
C:\Program Files (x86)\Norskale\Norskale Infrastructure Services\Norskale Broker Service Configuration Utility.exe
Repopulate with all values that you took note off in the initial tests and allow the services to restart
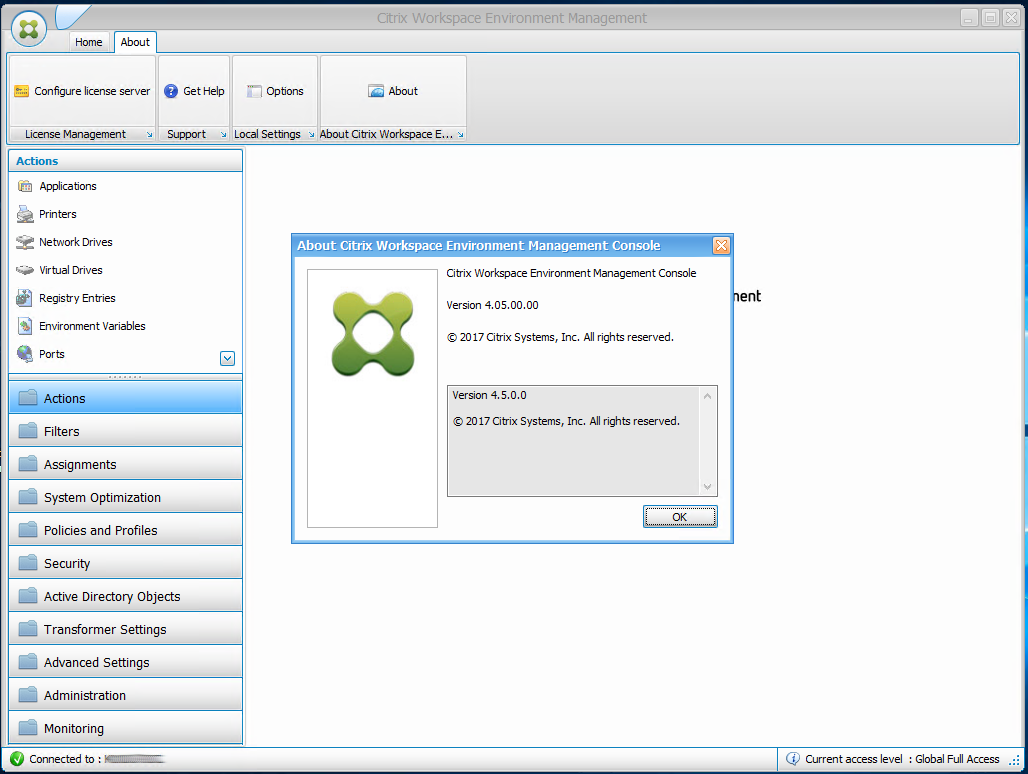
Repeat for each node in your environment Launch the console and confirm access and versions
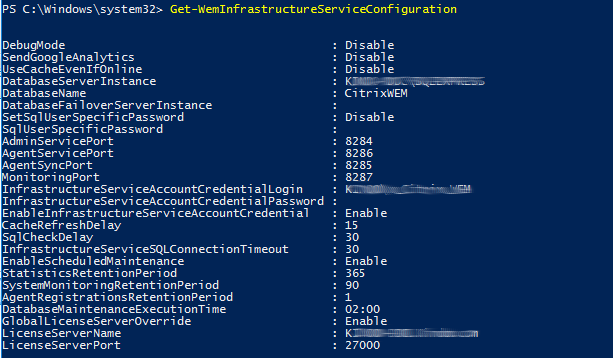
As mentioned, you can now view your service configuration via PowerShell using the Get-WemInfrastructureServiceConfiguration Commandlet
Now it’s time to update your Target Agents. Note that there is no urgency here, the older agents will report into upgraded WEM with no issues
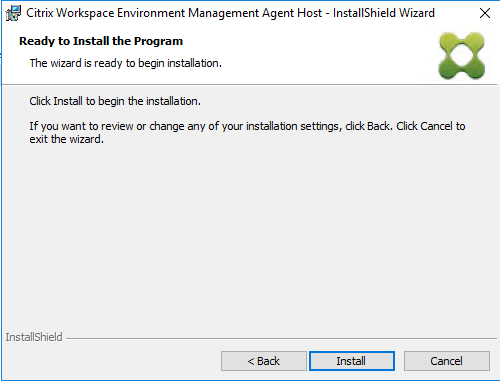
Follow whatever unsealing process for whatever provisioning technology you use Run the updated installer program - this can be run as an in place upgrade:
\Workspace-Environment-Management-v-4-05-00\Citrix Workspace Environment Management Agent Setup.exe
Accept defaults, there is no magic here
Your WEM Services will stop and restart during the process. Once installed, you can confirm your version
Once installed it is always important to run the ngen drain tasks.
I personally use BIS-F for any sealing work, but the manual process is outlined below. C:\Windows\Microsoft.NET\Framework\v4.0.30319\ngen.exe update C:\Windows\Microsoft.NET\Framework64\v4.0.30319\ngen.exe update C:\Windows\Microsoft.NET\Framework\v4.0.30319\ngen.exe eqi 1 C:\Windows\Microsoft.NET\Framework64\v4.0.30319\ngen.exe eqi 1 C:\Windows\Microsoft.NET\Framework\v4.0.30319\ngen.exe eqi 3 C:\Windows\Microsoft.NET\Framework64\v4.0.30319\ngen.exe eqi 3

Once completed you can reseal your image, when the WEM agent reports in, you should now see the new version

And you are good to go