Enhancing Citrix MCS and Microsoft Azure - Part 2: Accelerated Networking

Adding capability for Accelerated Networking with Citrix MCS provisioned workloads
Intro
This is the second part of an ongoing series around enhancing Citrix MCS within Azure. The first post focused on optimizing identity disk costs via PowerShell and Azure Automation. This is post will tackle one of the biggest impacting performance optimizations you can make to machines within Azure: Accelerated Networking.
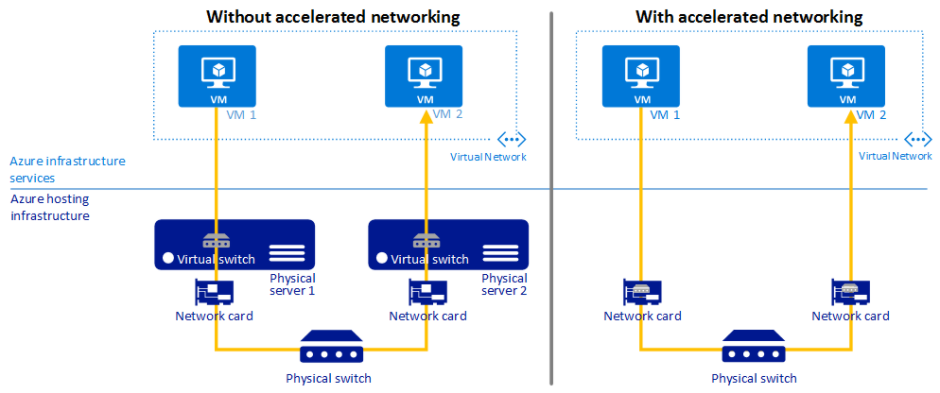
Accelerated Networking is defined by Microsoft as:
Accelerated networking enables single root I/O virtualization (SR-IOV) to a VM, greatly improving its networking performance. This high-performance path bypasses the host from the data path, which reduces latency, jitter, and CPU utilization for the most demanding network workloads on supported VM types
Recapping on what we discussed last time, MCS in Azure uses on-demand provisioning which means for pooled or newly provisioned workloads (in the case of dedicated) that when the machine is not powered on, it simply does not exist. The only evidence of the powered off machines existence (typically, and this assumes MCSIO is not in play) is a single identity disk, and a single Network Interface. When the machine is powered on, it is created “on demand” based on the provided provisioning scheme (ProvScheme). A new OSDisk is created (full cloned) and both the Identity disk, and Network Interface attached to the machine at creation.
In the context of this article, we are interested in the Network Interface. Accelerated Networking is configured on the Network Interface object itself, which works in conjunction with selected VM sizes and Operating Systems within the Azure Platform.
At the time of writing, I would like to point out that both the supported operating systems and supported VM instances are not reflective of what Azure is supporting. For instance, there is no mention of Windows 10 enterprise multi-session being supported, nor any mention of NV series machines. If you spin up a new machine in the portal, you will find that accelerated networking is enabled by default (which only happens on a supported mix of OS and VM Instance sizes), and more importantly, the functionality of Accelerated Networking is perfectly fine across both NV series and Windows 10 Enterprise Multi-Session instances.
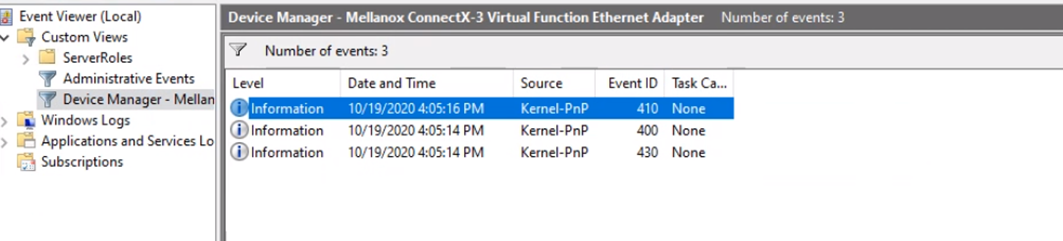
Accelerated Networking requires a Mellanox driver. This driver is injected at machine boot and does not need to exist on the master image as demonstrated below

I have seen massive performance increases when enabling Accelerated Networking, the results can be staggering when enabled the whole way through (server and client) and as such, should be enabled everywhere it can be. Unfortunately, at the time of writing, MCS doesn’t provide any mechanism to enable this feature, PowerShell however, most certainly does.
I have written a script that does the following:
- Takes an input of a single, or multiple Resource Groups and a single or multiple Subscription list (You must use the ID of the subscription and not the name). I made Resource Groups the boundary the same as MCS driven provisioning, you are going to have one or many resource groups tied to a catalog, all with the same ProvScheme and sizing, so it’s a safe boundary. I added multi subscription due to scale requirements across large deployments
- Searches through the Resource Group/s and gathers an array of Network Interfaces. You can add an exclusion pattern if you would like to exclude certain Network Interfaces
- For each Interface, it checks to see if the Interface is attached to a VM
- Given the nature of on-demand provisioning in pooled environments, if the machine is off, it doesn’t exist, and as such the Interface is ready to be enabled for Accelerated Networking
- For persistent environment, the Interface will be attached to the machine, so the script checks the power state of the VM. If the machine is on, it’s ignored, if the machine is deallocated, then the Interface is enabled for Accelerated Networking
A word of warning at this point. I have no way of checking to see what the machine type is when the machine doesn’t exist. So if the script finds a Network Interface that is unattached, it will enable Accelerated Networking. Do your homework before enabling this and make sure your Instance sizes are ok. Luckily, for persistent machines, the “enable” action will fail if attached to a machine with an unsupported Instance Size
Please note that this post contains configuration associated with an Azure Automation Run As Account. This has been replaced with modern methods such as a System Assigned Managed Identity. Please visit this post entitled: Migrate Azure Runbook RunAs Accounts to a System Assigned Managed Identity for updated deployment guidance when it comes to configuring the credential
Executing the Script
Once again, to provide a zero touch self managing solution, Azure Automation Accounts is our go to. You will need:
- An Automation account with permissions adequate to alter resources in the target subscriptions. I used Contributor
- You must import the following modules into the Automation Account (they are available in the gallery)
- AZ.Accounts
- AZ.Resources
- AZ.Compute
- AZ.Network

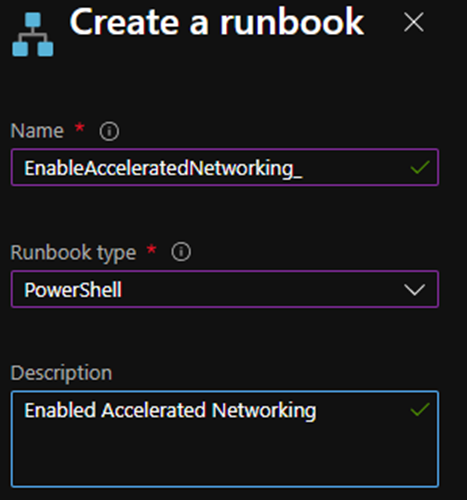
You can then create a PowerShell Runbook to execute the code
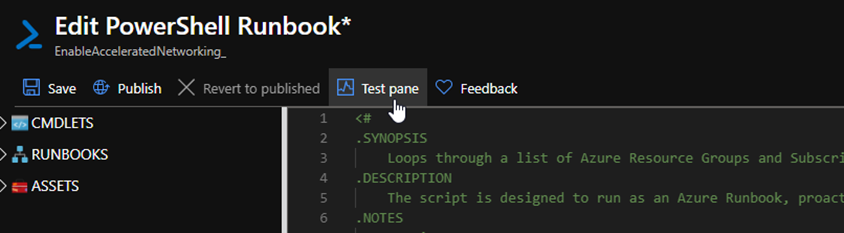
In the editor window, copy in the code and set the appropriate parameter values. You can change the parameter variables at this stage to your subscriptions (ID not name) and resource groups
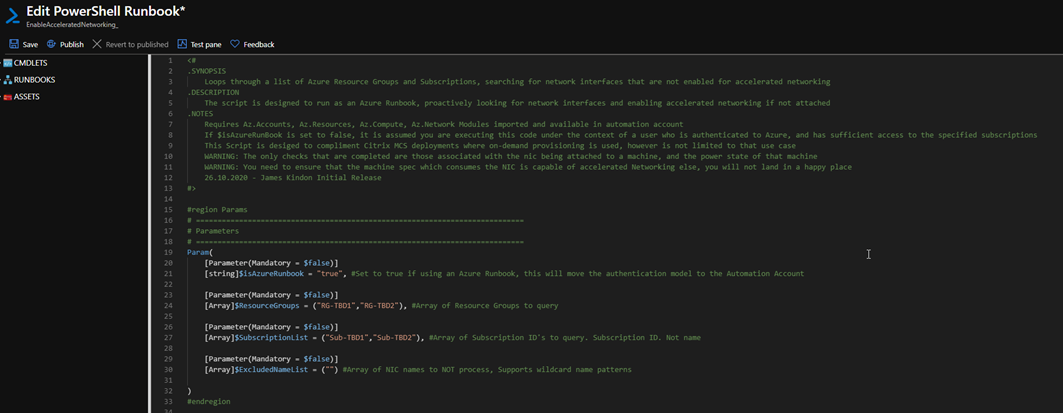
Set the isAzureRunbook parameter to true. This will flick the authentication model over to use the Automation Account. The script can be executed manually as required by switching the parameter to false (the same rules apply permissions wise at this point). Run a test to make sure life is ok
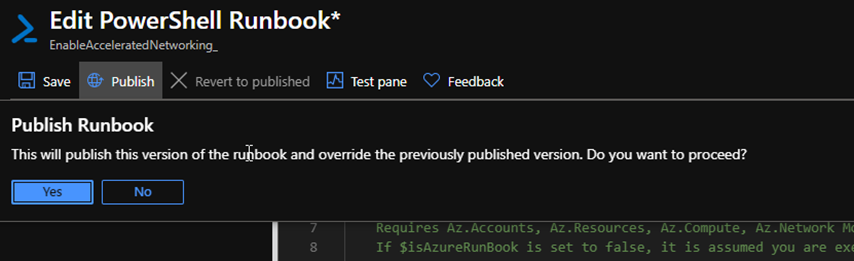
Or you can save and publish the code, and move on to the schedule
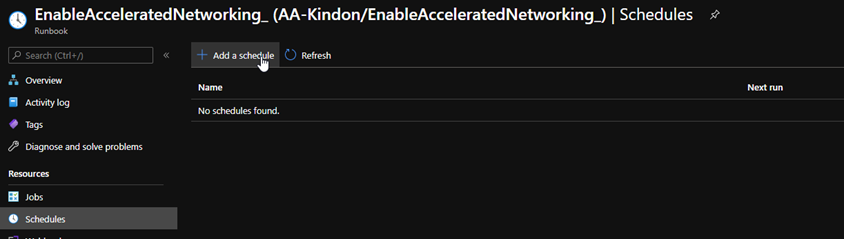
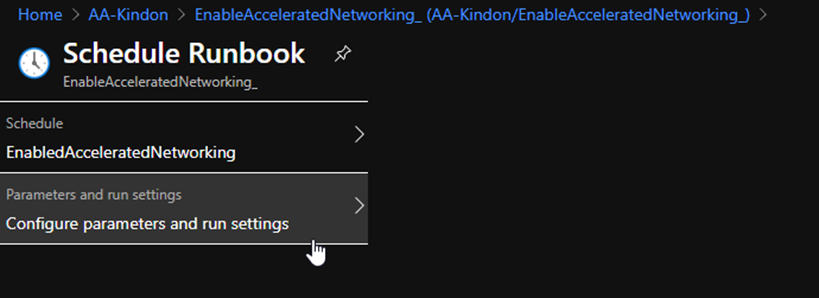
A schedule is used to execute the code, it is also a great place to be able to specify different values for the predefined parameters as required
Choose your schedule options (ideally at a time when the identity disks will not be in use), this can be lined up with Citrix Autoscale schedules
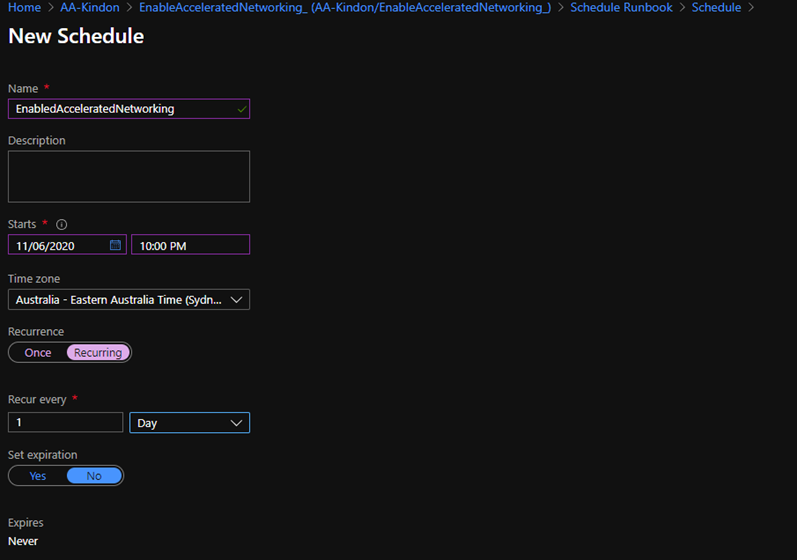
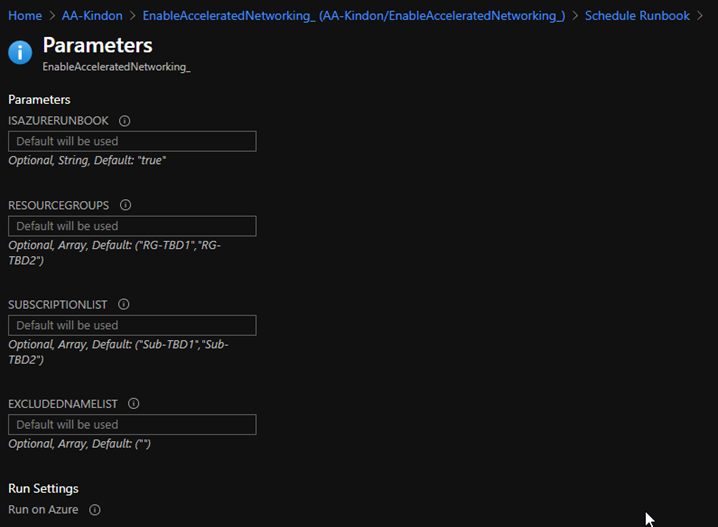
Optionally, you can specify some parameters in the schedule rather than relying on hardcoding them in the script, else you can just use the defaults
By default, the default parameters are used as per script values
OK through the schedule panes and you are done (there is a minimum of 1 hour lag time for the first scheduled run from time of creation, so you might want to run the job manually)
When your job executes, you should find a nice amount of verbose output, tracking through everything that has been actioned (or not)
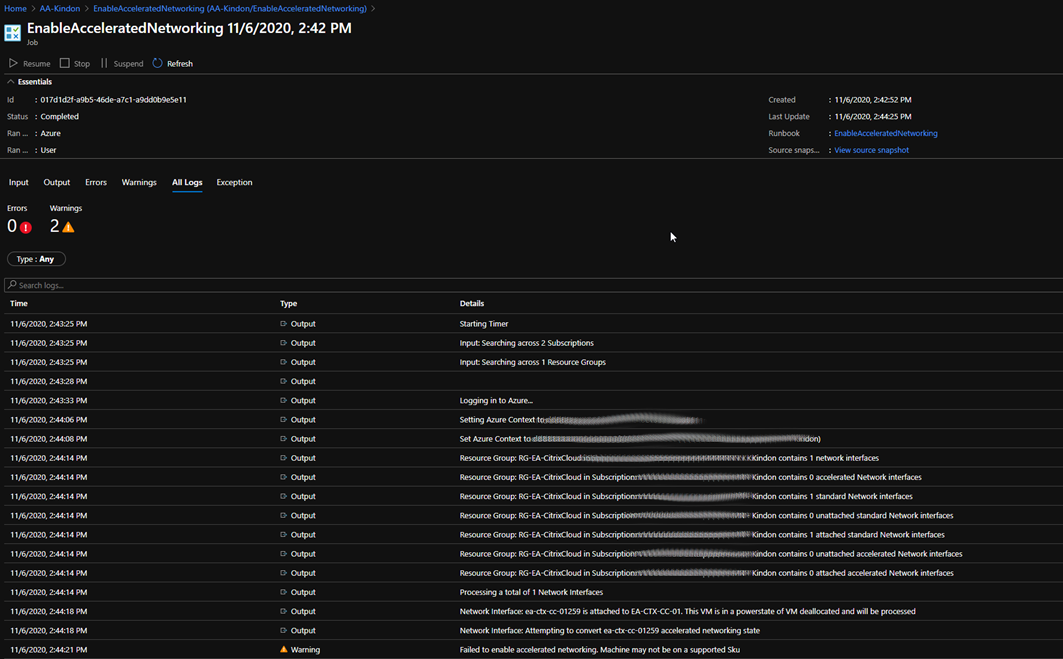
When we find Interfaces that match the criteria, the enablement occurs

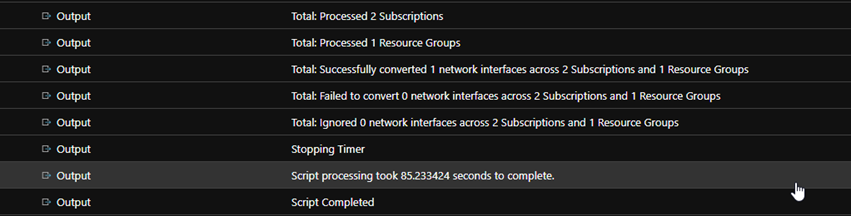
There you have it, fully contained within Azure, and scalable as you scale in and out with your MCS based workloads. If you scale across subscriptions, simply add your subscription ID to the process list, if you add resource groups then add to the list. The rest is handled for you.
Summary
Once again, MCS is amazing at doing what it does, however Azure provides a number of performance enhancements that should be enabled to maximise user experience and general performance. Accelerated Networking is one capability that we can tackle whilst still consuming the brains of MCS, unfortunately there are others that we cannot just yet (Proximity Placement Groups etc), so if maximum performance is required with extremely latency sensitive workloads, then maybe MCS doesn’t make sense right now – but that is a topic for another post.
Feel free to add to the code should there be any enhancements or suggestions, happy to add or alter if there is value.
The script is located in my github here