Enhancing Citrix MCS and Microsoft Azure – Part 1: Identity Disk Cost Optimization

Getting beer funds sorted by changing Identity Disk Skus with MCS workloads in Azure
Intro
Citrix Machine Creation Services (MCS) is commonly utilised to deploy non-persistent workloads into Microsoft Azure, providing image management and provisioning at scale.
MCS in Azure uses on-demand provisioning which means for pooled or newly provisioned workloads (in the case of dedicated) that when the machine is not powered on, it simply does not exist. The only evidence of the powered off machines existence (typically, and this assumes MCSIO is not in play) is a single identity disk, and a single network interface (NIC). When the machine is powered on, it is created “on demand” based on the provided provisioning scheme (ProvScheme). A new OSDisk is created (full cloned) and both the Identity disk, and NIC attached to the machine at creation.
One of the current downfalls at the time of writing this post, is that the identity disk is created at the same Sku as the ProvScheme OS disk. To be clear, if you choose a premium disk in your provisioning scheme, the identity disk is also created at a premium Sku. For the OSDisk, you are only charged for the time that the Disk exists (it is deleted when the machine is powered off in a non-persistent environment), however the identity disk persists, and is charged at the premium Sku. Luckily, the new sizing from Microsoft means that this disk is only a 4Gb disk (P1), however there is absolutely no technical reason or requirement for this disk to remain at the premium Sku given its function is to do nothing except provide identity details for a non-persistent machine. As such, for cost optimization, we can change this disk to the cheapest Sku possible, which is a Standard 4GiB SSD (E1). It would be easy to think that a Standard HDD is the better option, however the minimum billable size is a 32GiB (S4) disk, which is far more expensive that a 4GiB (P1) disk. An outline in AUD is shown below:
- Premium SSD 4 GiB (P1), $1.19 per month AUD
- Standard HDD 32 GiB (S4), 3.37 per month AUD (+ transactional costs)
- Standard SSD 4 GiB (E1), 0.56 per month AUD (+ transactional costs)
These costs are so small initially that they may seem insignificant, but let’s do some math in a language most of us understand: Beer currency.
I am a massive fan of Burleigh Bighead beers. Unfortunately, they retail at about $68 AUD a case so it’s a rare treat. Let’s look at the Identity Disk savings to beer ratio below:

That’s right, for every 108 identity disks you convert from premium to standard SSD, you could purchase a slab of sensational beer per month.
So how can we action changes like this when our Citrix based provisioning tools currently don’t let us do so, and how do we action this in a set and forget fashion, so that we don’t get stuck with a checklist of things to “go fix” when we provision new workloads? PowerShell to the rescue, and more importantly, Azure Automation Accounts and PowerShell Runbooks.
I have written a script that does the following:
- Looks for all Identity disks within a subscription, or a list of subscriptions and optionally, specific resource groups. It looks for identity disks based on the well-known naming pattern that Citrix uses “*-IdentityDisk-*“
- Takes an input of a disk type to look for - so in our example (and the target example really), looks for a Premium SSD disk Sku
- Takes an input for what to convert these disks too - Standard SSD
- Gathers an array of disks to target, and then does some basic checks:
- Is the disk unattached or reserved? If yes, then convert the disk
- Is the disk attached to a machine? If yes, ignore until the next run
Please note that this post contains configuration associated with an Azure Automation Run As Account. This has been replaced with modern methods such as a System Assigned Managed Identity. Please visit this post entitled: Migrate Azure Runbook RunAs Accounts to a System Assigned Managed Identity for updated deployment guidance when it comes to configuring the credential
Executing the Script
Azure Automation Accounts offer the perfect utility to execute the code in a scheduled fashion, you will need the following:
- An Automation account with permissions adequate to alter resources in the target subscriptions. I used Contributor
- You must import the following modules into the Automation Account (they are available in the gallery)
- AZ.Accounts
- AZ.Resources
- AZ.Compute

You can then create a PowerShell Runbook to execute the code
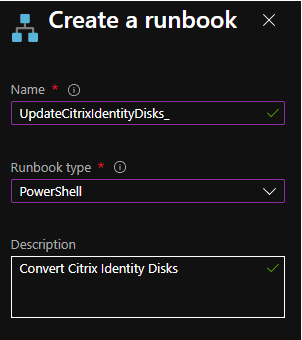
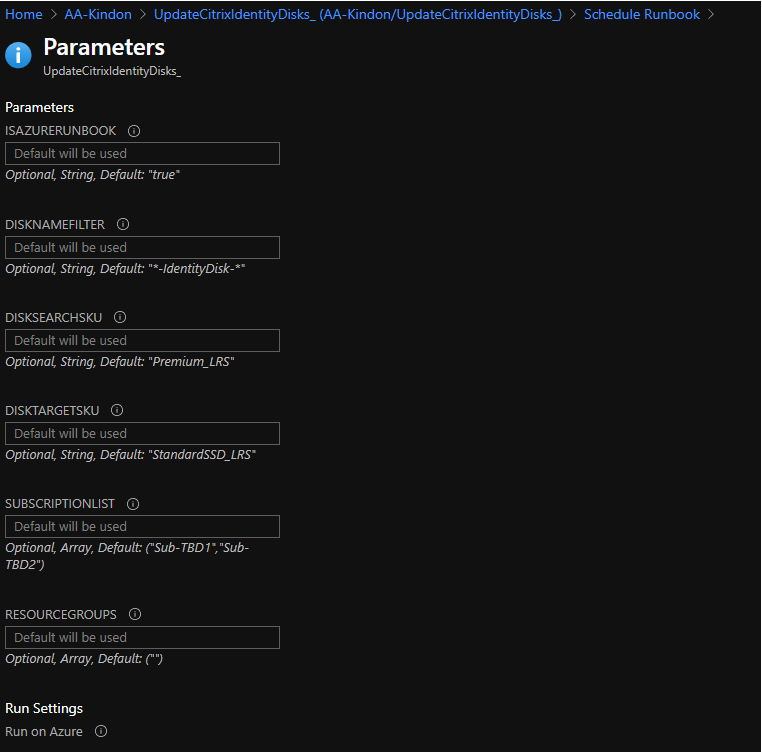
In the editor window, copy in the code and set the appropriate parameter values. You can change the parameter variables at this stage to your subscriptions and resource groups (not mandatory)
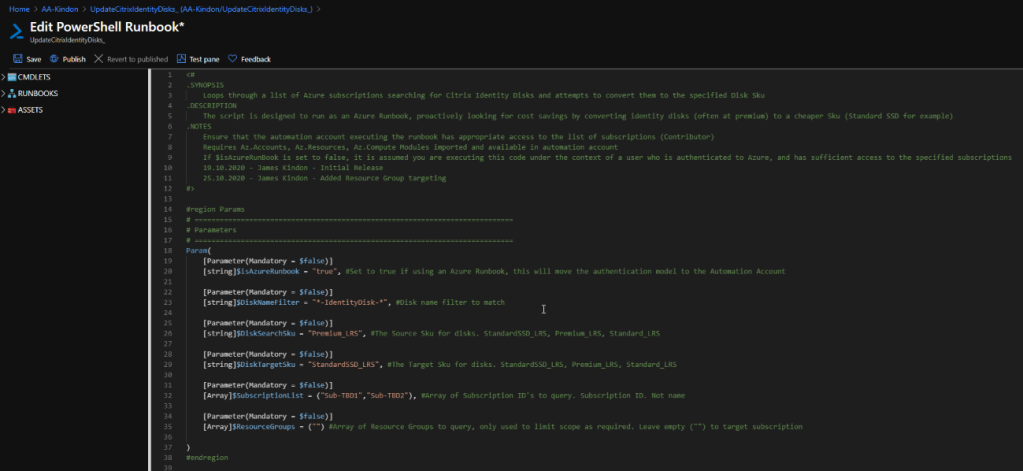
Set the isAzureRunbook parameter to true. This will flick the authentication model over to use the Automation Account. The script can be executed manually as required by switching the parameter to false (the same rules apply permissions wise at this point). Run a test to make sure life is ok
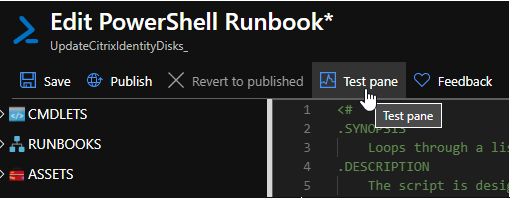
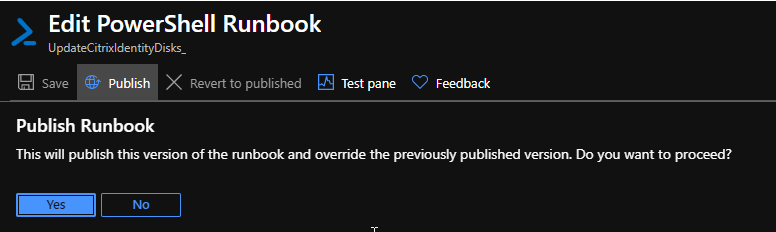
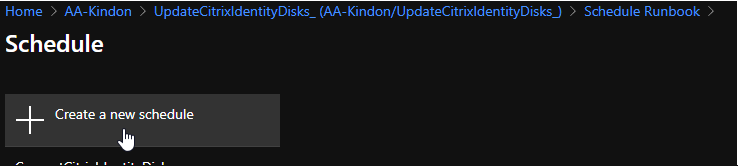
Or you can save and publish the code, and move on to the schedule
A schedule is used to execute the code, it is also a great place to be able to specify different values for the predefined parameters as required
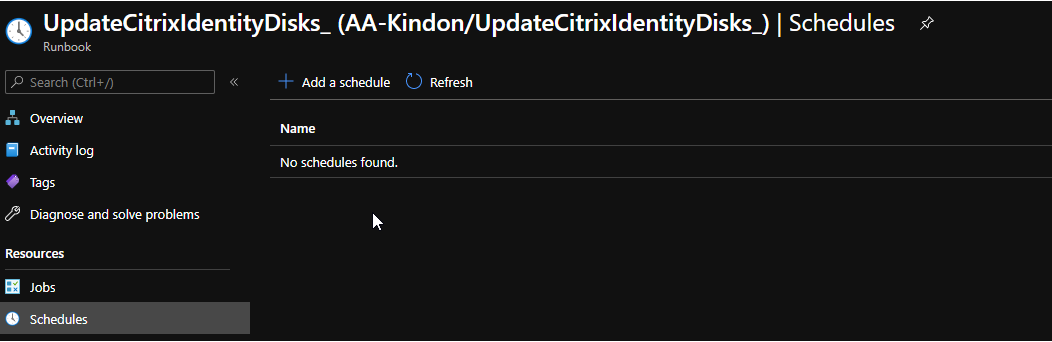
Choose your schedule options (ideally at a time when the identity disks will not be in use), this can be lined up with Citrix Autoscale schedules
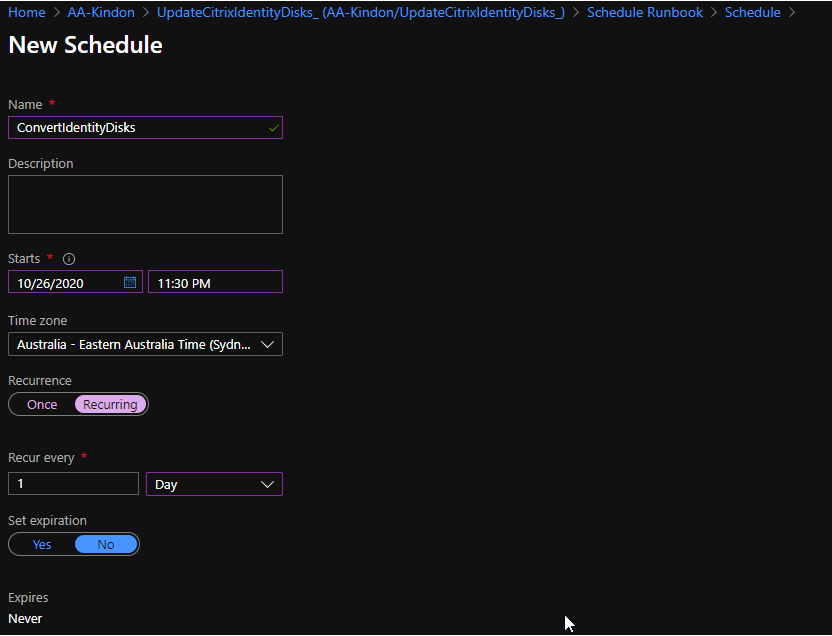
Optionally, you can specify some parameters in the schedule rather than relying on hardcoding them in the script, else you can just use the defaults
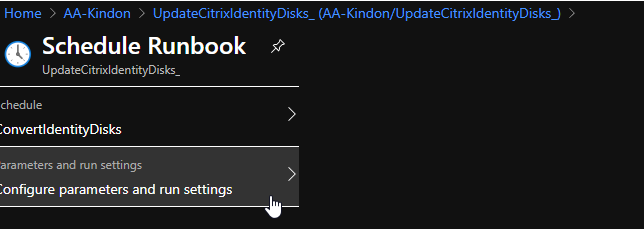
By default, the default parameters are used as per script values
OK through the schedule panes and you are done (there is a minimum of 1 hour lag time for the first scheduled run from time of creation, so you might want to run the job manually)
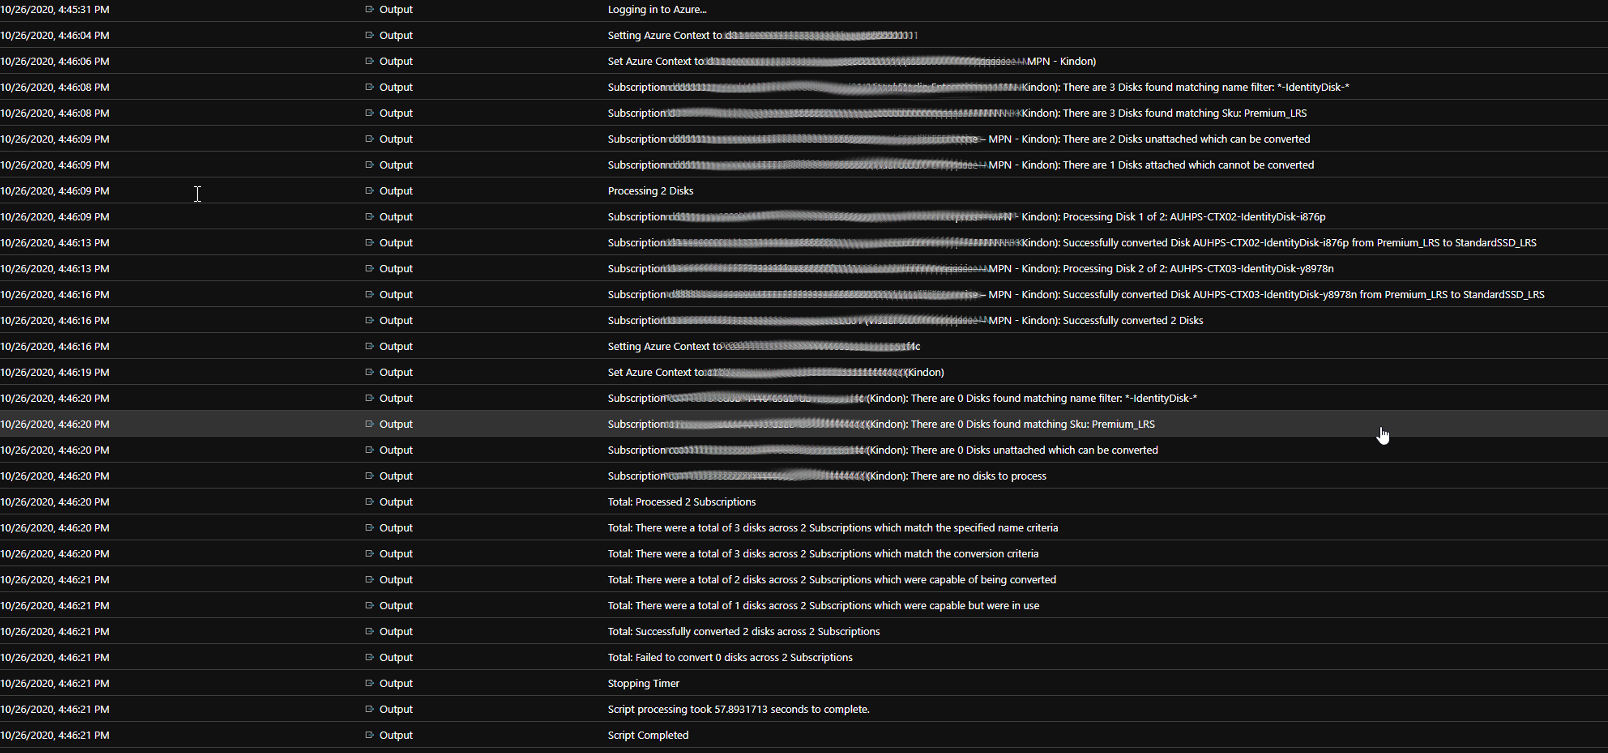
When your job executes, you should find a nice amount of verbose output, tracking through everything that has been actioned (or not)
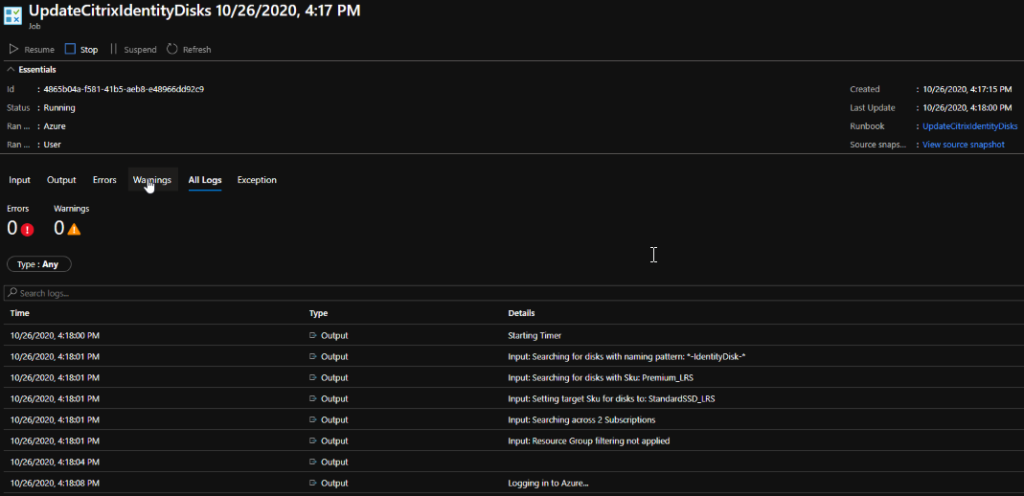
In the below log output, you can see 3 disks found across 2 subscriptions matching the criteria, 2 capable of being converted as they are detached, and 1 ignored as it is attached to a running machine
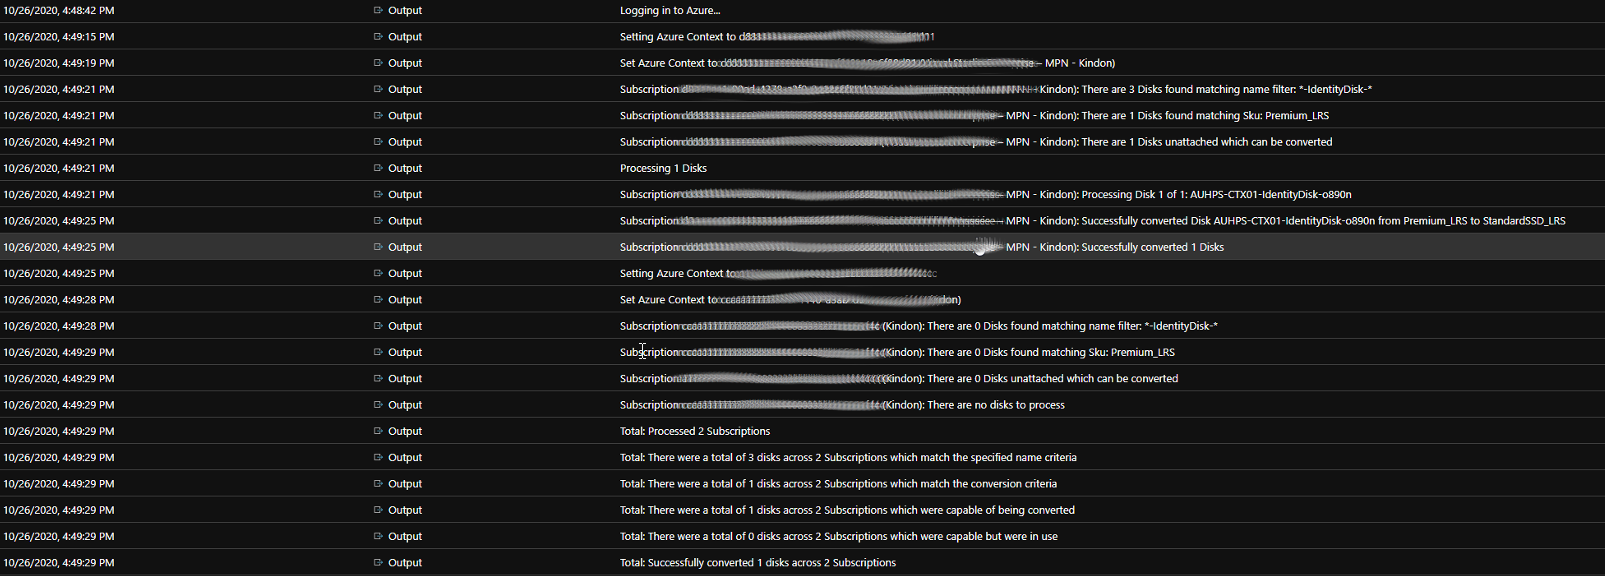
On the next run when the machine has been shutdown with the previously held open identity disk attached, the identity disk can be converted
There you have it, fully contained within Azure, and scalable as you scale in and out with your MCS based workloads. If you scale across subscriptions, simply add your subscription to the process list, if you are limiting by resource groups and add new ones, then add to the list. The rest is handled for you.
Summary
Whilst MCS is awesome for machine provisioning and scale, it leaves a few holes that need filling to optimize costs. Converting identity disks in the first instance is a small but important win, particularly for customers at scale. Hopefully this will become a native functionality in the future for MCS, but until then, I hope this adds some value.
Feel free to add to the code should there be any enhancements or suggestions, happy to add or alter if there is value.
The script is located in my github here
Stay tuned for the next part in this series, where we start scripting in some wins to leverage additional performance optimizations for MCS provisioned workloads in Microsoft Azure